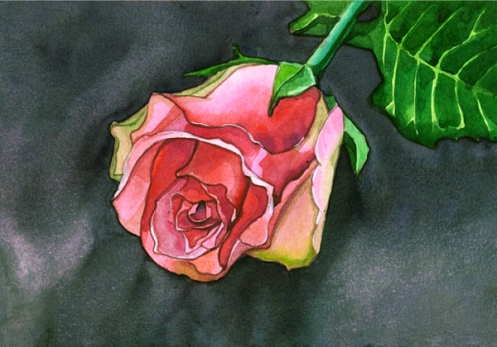
Painting A Rose In Watercolor
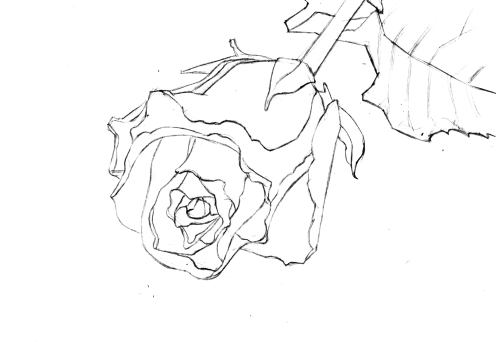
Hi everybody. Hope all of are doing well. Last time we painted a simple landscape in watercolor. Today we are going to paint a rose in watercolor. I guess everybody likes rose. They are the most common flower used in many occasions. We love roses and we shall paint one today. For this I have used a Fbriano paper with minimum texture. This is because we are going to paint it in detail. A smooth paper can give you this flexibility. You can take a rose with a few leaves from your garden or buy one or get a photograph from tne net. I have used one stock photograph though I have changed the color and background. First is first. Do the sketch with a HB pencil. A lower grade pencil would allow you to see the sketch while painting and will be hidden under the clor at the end. But sometimes pencil lines and shades are required in some cases. We shall discuss it later in future post. Sketch in detail every petal, folds, leaf structures, etc. here is mine.
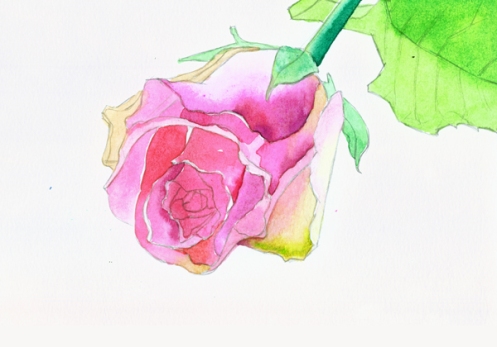
Now it’s time to fill with color. Start with the lightest tint of the petal fill the whole area. If there is some bright highlight you can leave white space. But remember petals are organic so the do not have a sharp area of highlight such as a steel bowl. Fill some areas with darker shade while the painting is still wet. This will allow you to get a soft blending of highlight to shadow. Wait till it dries. Here is mine.
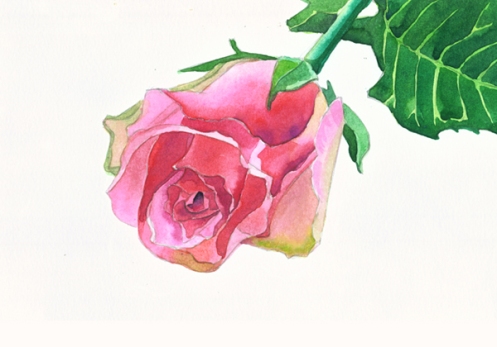
Now carefully observe different shades of the basic color. Every petal has the same color, but due to light falling upon them they contains different shades of the same color. Paint accordingly. Mine is not a full bloomed rose. So petals on the outer periphery contain slight green tint. Here is it.
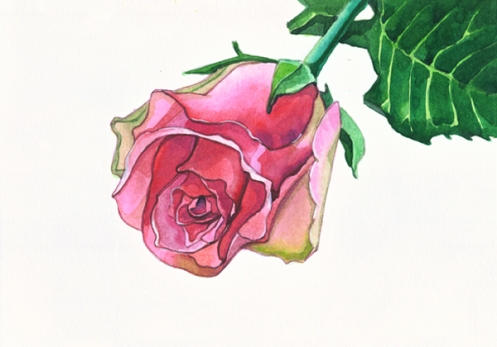
Final touch. When every thing dries add shadows with darker tone. If some outlines are necessary to distinguish a few petals add them. But do I with a darker tone of the same color. This is important, otherwise it will look very artificial. Here is mine.
you can leave as it is. But if you want some background, this is the time to paint. Wet the blank areas with a brush dipped into water. Wait for a while. Put the color you want at the background, change gradation of the color according to your need. HERE IT IS! Our rose is ready. You can frame it or give it to your girlfriend or boyfriend. I don’t have any so I kept it with my other paintings. But before giving don’t forget to sign on it. Happy painting!!!

